
Stroke Palette:
To access the stroke palette, click on the menu icon with the 4 rows of lines on it, or go to Window>Stroke to bring up the panel.
Cap Buttons- The cap buttons modify the endpoints of a solid line, or all the dashes in a dashed line.
Join Buttons- The join buttons modify the bends on corner points (not curve points).
Miter Limit- Change the miter limit to control when a pointed corner becomes a beveled corner. A high miter limit value creates sharp, pointy corners, and a low miter limit value created blunt, beveled corners.
Dashed Line- Check the dashed line box to convert a regular stroke into a dashed line. Use the cap buttons to change the shape of the dash, and enter point values in the dash and gap fields to change the size and spacing.
* Dotted Line trick- To create a dotted line, click the rounded cap button, enter a dash value of 0, and enter a gap value greater or equal to the stroke weight.
Gradients
Transparency
To access the Transparency palette, click on the menu icon with the Venn Diagram symbol on it, or go to Window>Transparency to bring up the panel.
-Opacity- The opacity setting controls the transparency of an object.
-Blending Mode- These filters control how transparent colors are affected by underlying objects.
Transparencies can get really screwed up on press. An important step when prepping files for output is to flatten transparencies using Object>Flatten Transparency.
Masks
1. Arrange the object or objects to masked. You can group them or not. To avoid printing errors, don't use super intricate objects.
2.Put the masking object (called the clipping path) in front of the objects it will be masking. If you need to resteack it, on the layers panel, drag its name upward on the list.
3. Choose the selection tool (black arrow).
4. Select the clipping path (masking shape) and the objects to be masked.
5. Choose Object>Clipping Mask>Make Clipping Mask
*The clipping path (masking shape) will now have a stroke and fill of None, and all the objects will remain selected. The words "Clipping Path" will appear on the Layers panel, and the masking shape and all of the masked objects will be moved it a clipping set.
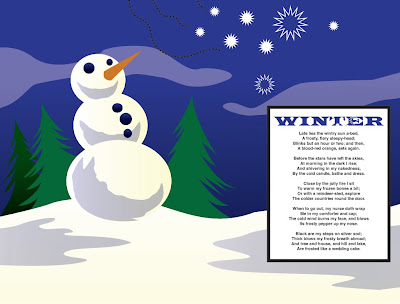
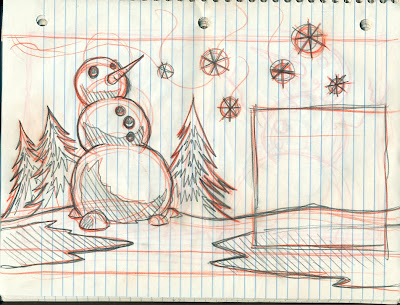
Assignment: Let's return to the snowman design from earlier, this time adding type, transparency, and gradients.
"Winter-Time
by Robert Louis Stevenson
Late lies the wintry sun a-bed,
A frosty, fiery sleepy-head;
Blinks but an hour or two; and then,
A blood-red orange, sets again.
Before the stars have left the skies,
At morning in the dark I rise;
And shivering in my nakedness,
By the cold candle, bathe and dress.
Close by the jolly fire I sit
To warm my frozen bones a bit;
Or with a reindeer-sled, explore
The colder countries round the door.
When to go out, my nurse doth wrap
Me in my comforter and cap;
The cold wind burns my face, and blows
Its frosty pepper up my nose.
Black are my steps on silver sod;
Thick blows my frosty breath abroad;
And tree and house, and hill and lake,
Are frosted like a wedding cake."

Excellent post and wonderful blog, this sort of interesting posts I really like, keep it up... Icon cap red UK
ReplyDelete